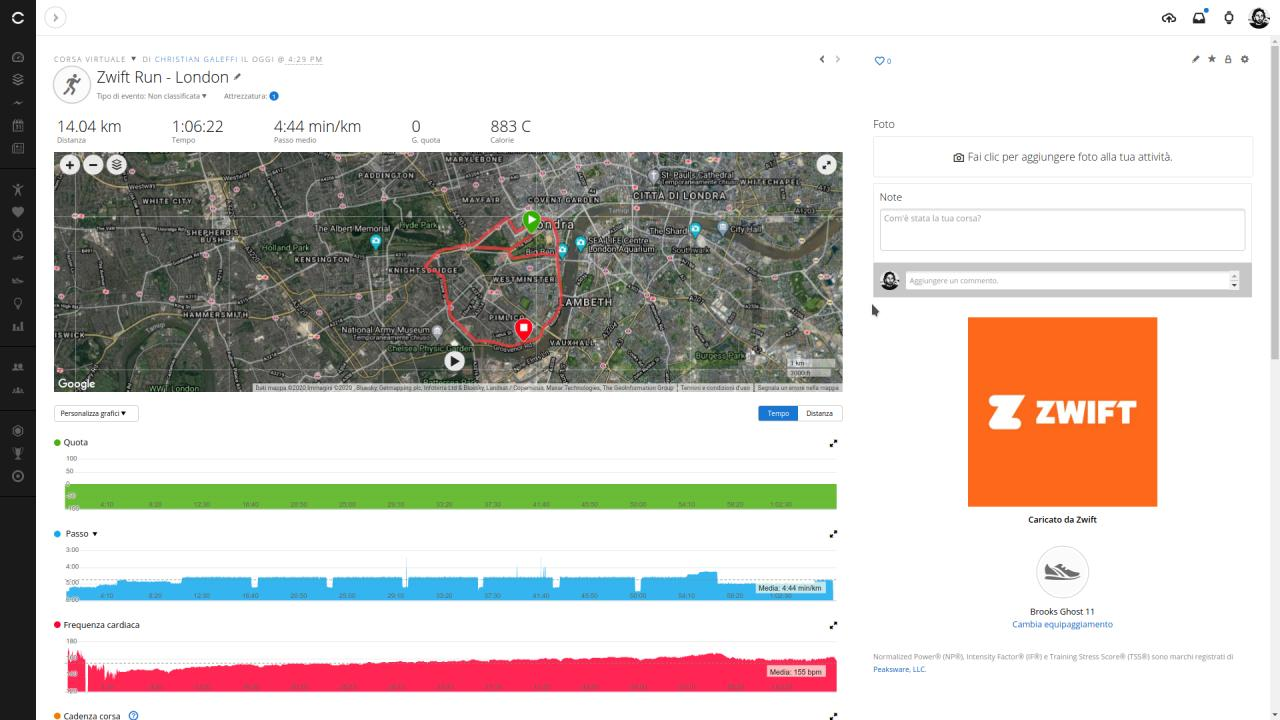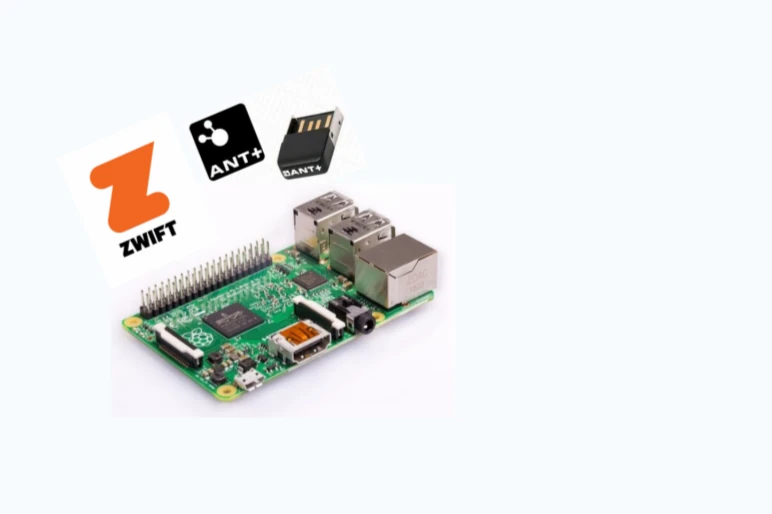
Connect any treadmill to Zwift using a Raspberry Pi and an Ant+ stick as speed meter.
Phase 1 – Raspberry Pi configuration
I used Raspbian Buster Lite as base OS from raspberrypi.org.
Access Raspberry Pi with ssh or connect to serial console, update system and install some tools:
sudo apt update && sudo apt upgrade
sudo reboot
sudo apt install vim git libudev-dev
Check whether a Raspberry Pi is 32 bit or 64 bit:
uname -m
armv7l
Installing Node.js LTS version from Node.js.org, in this example the latest version is 12.16.3.
wget https://nodejs.org/dist/latest-v12.x/node-v12.16.3-linux-armv7l.tar.gz
tar -xzf node-v12.16.3-linux-armv7l.tar.gz
cd node-v12.16.2-linux-armv7l/
sudo cp -R * /usr/local/
Test NodeJS and npm version:
node -v
v12.16.3
npm -v
6.14.4
cd
Insert the Ant+ usb stick and read the device id:
$ lsusb
...
Bus 001 Device 004: ID 0fcf:1009 Dynastream Innovations, Inc. ANTUSB-m Stick
...
Create a UDEV rule to be able to access device, my ANT+ stick is from Garmin:
sudo vim /etc/udev/rules.d/Dynastream-ANTUSB-m.rules
SUBSYSTEM=="usb", ATTRS{idVendor}=="0fcf", ATTRS{idProduct}=="1009", RUN+="/sbin/modprobe usbserial vendor=0x0fcf product=0x1009", MODE="0666", OWNER="pi", GROUP="root"
Unplug and reinsert the USB Stick again, and verify that you can access the device at /dev/ttyUSB0:
ls /dev/ttyUSB0
/dev/ttyUSB0
Phase 2 – Ant-plus, a node.js module for ANT+
Clone this repository https://github.com/Loghorn/ant-plus:
git clone https://github.com/Loghorn/ant-plus.git
Edit ant-plus.js by adding the line below in module.exports{...}
cd ant-plus/
vim ant-plus.js
...
module.exports = {
    ...
    Messages: Ant.Messages,
};
Install ant-plus with npm:
$ npm install
this take some time… and test!
$ node sample/sample.js
3 Stick found
3 startup
3 Max channels: 8
3 sensor1 attached
...
Install rpi-gpio module:
npm install rpi-gpio
Use this repo to create the Stride Speed Distance sensor in
sample directory and try to start the script:
cd ./sample
git clone https://github.com/gallochri/strideSpeedDistance.git
node strideSpeedDistance/start.js
Ctrl + C
Stop the script and look into start.js for enabling DEBUG, all the code is commented.
In speedMeter.js you can enable DEBUG, set the treadmill length (my carpet is 293 cm) and set the pin used on
raspberry pi.
You can also enable DEBUG in strideSpeedDistance.js.
Phase 3 – Hardware
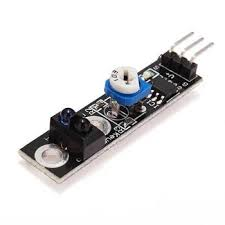
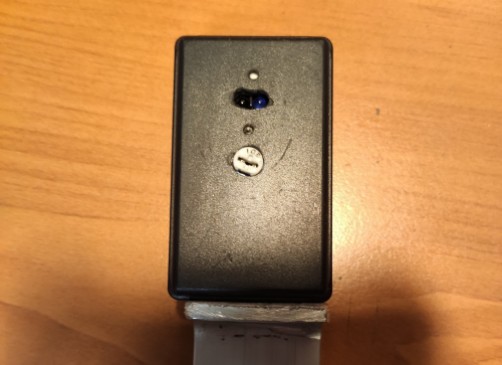
I used a tracing black/white line hunting sensor module to determine the speed of the treadmill with only one marker on
the treadmill.
If you want more precision, you can put multiple markers on the carpet and change the code accordingly.
This is
the hunt sensor I
used:
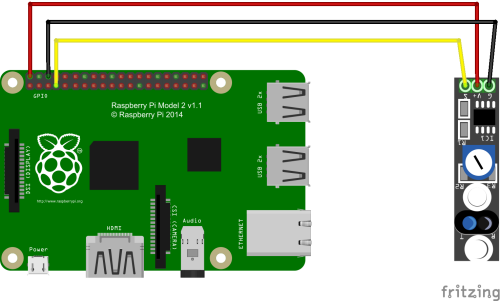
and this is the sketch to connect the sensor to the raspberry pi:
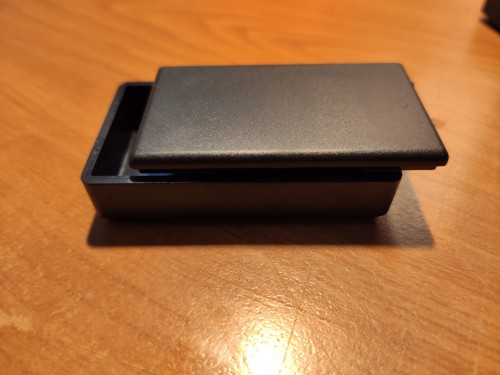
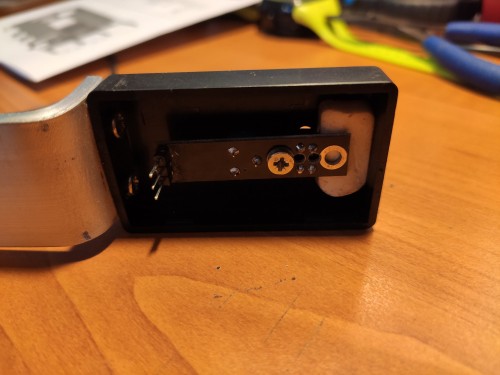
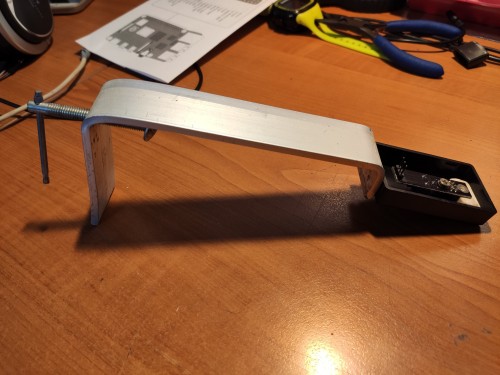
I used a small black box in order to hold the sensor, then folded an aluminum strip and finally inserted a threaded bar
to create a mounting bracket for the treadmill.
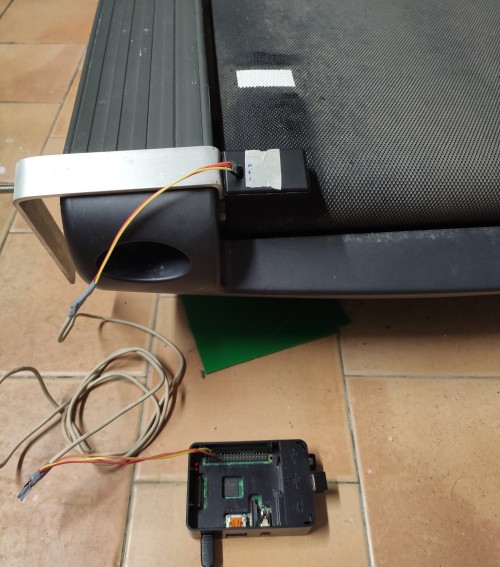
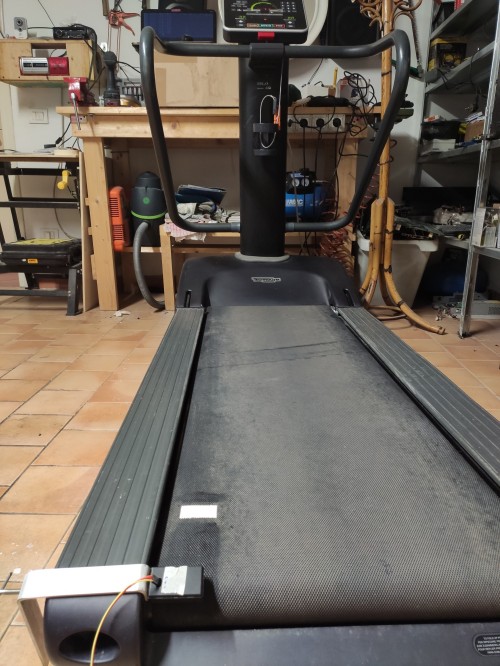
Here are some photos:
Last, you need to create a marker on the carpet and make sure it is detected by the sensor:
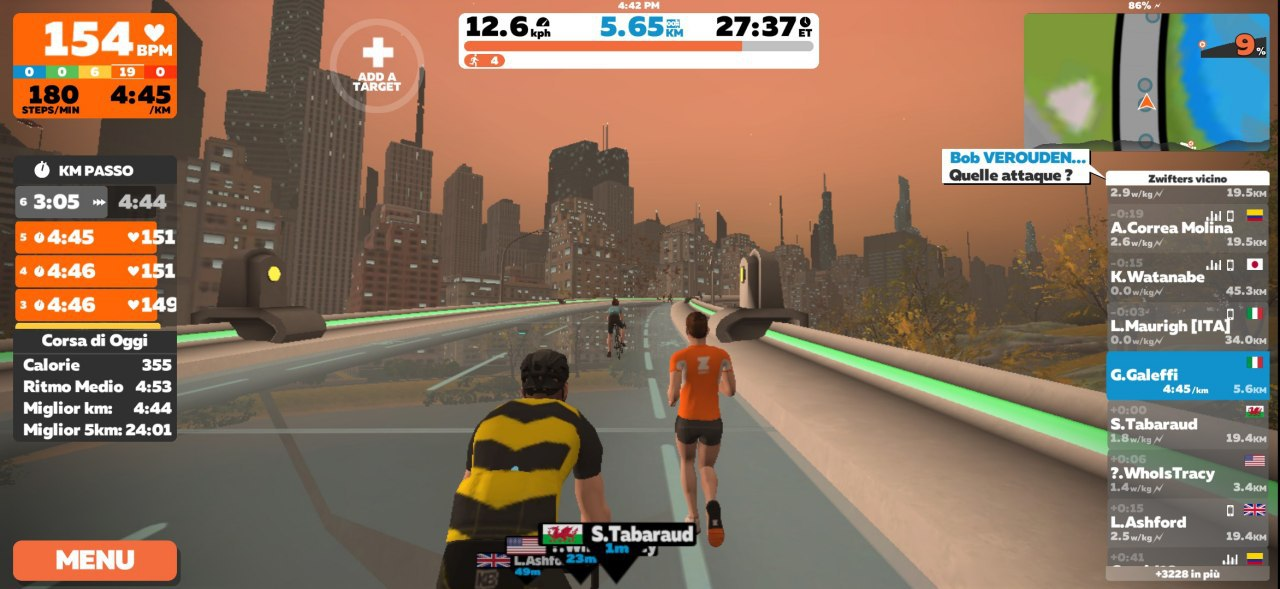
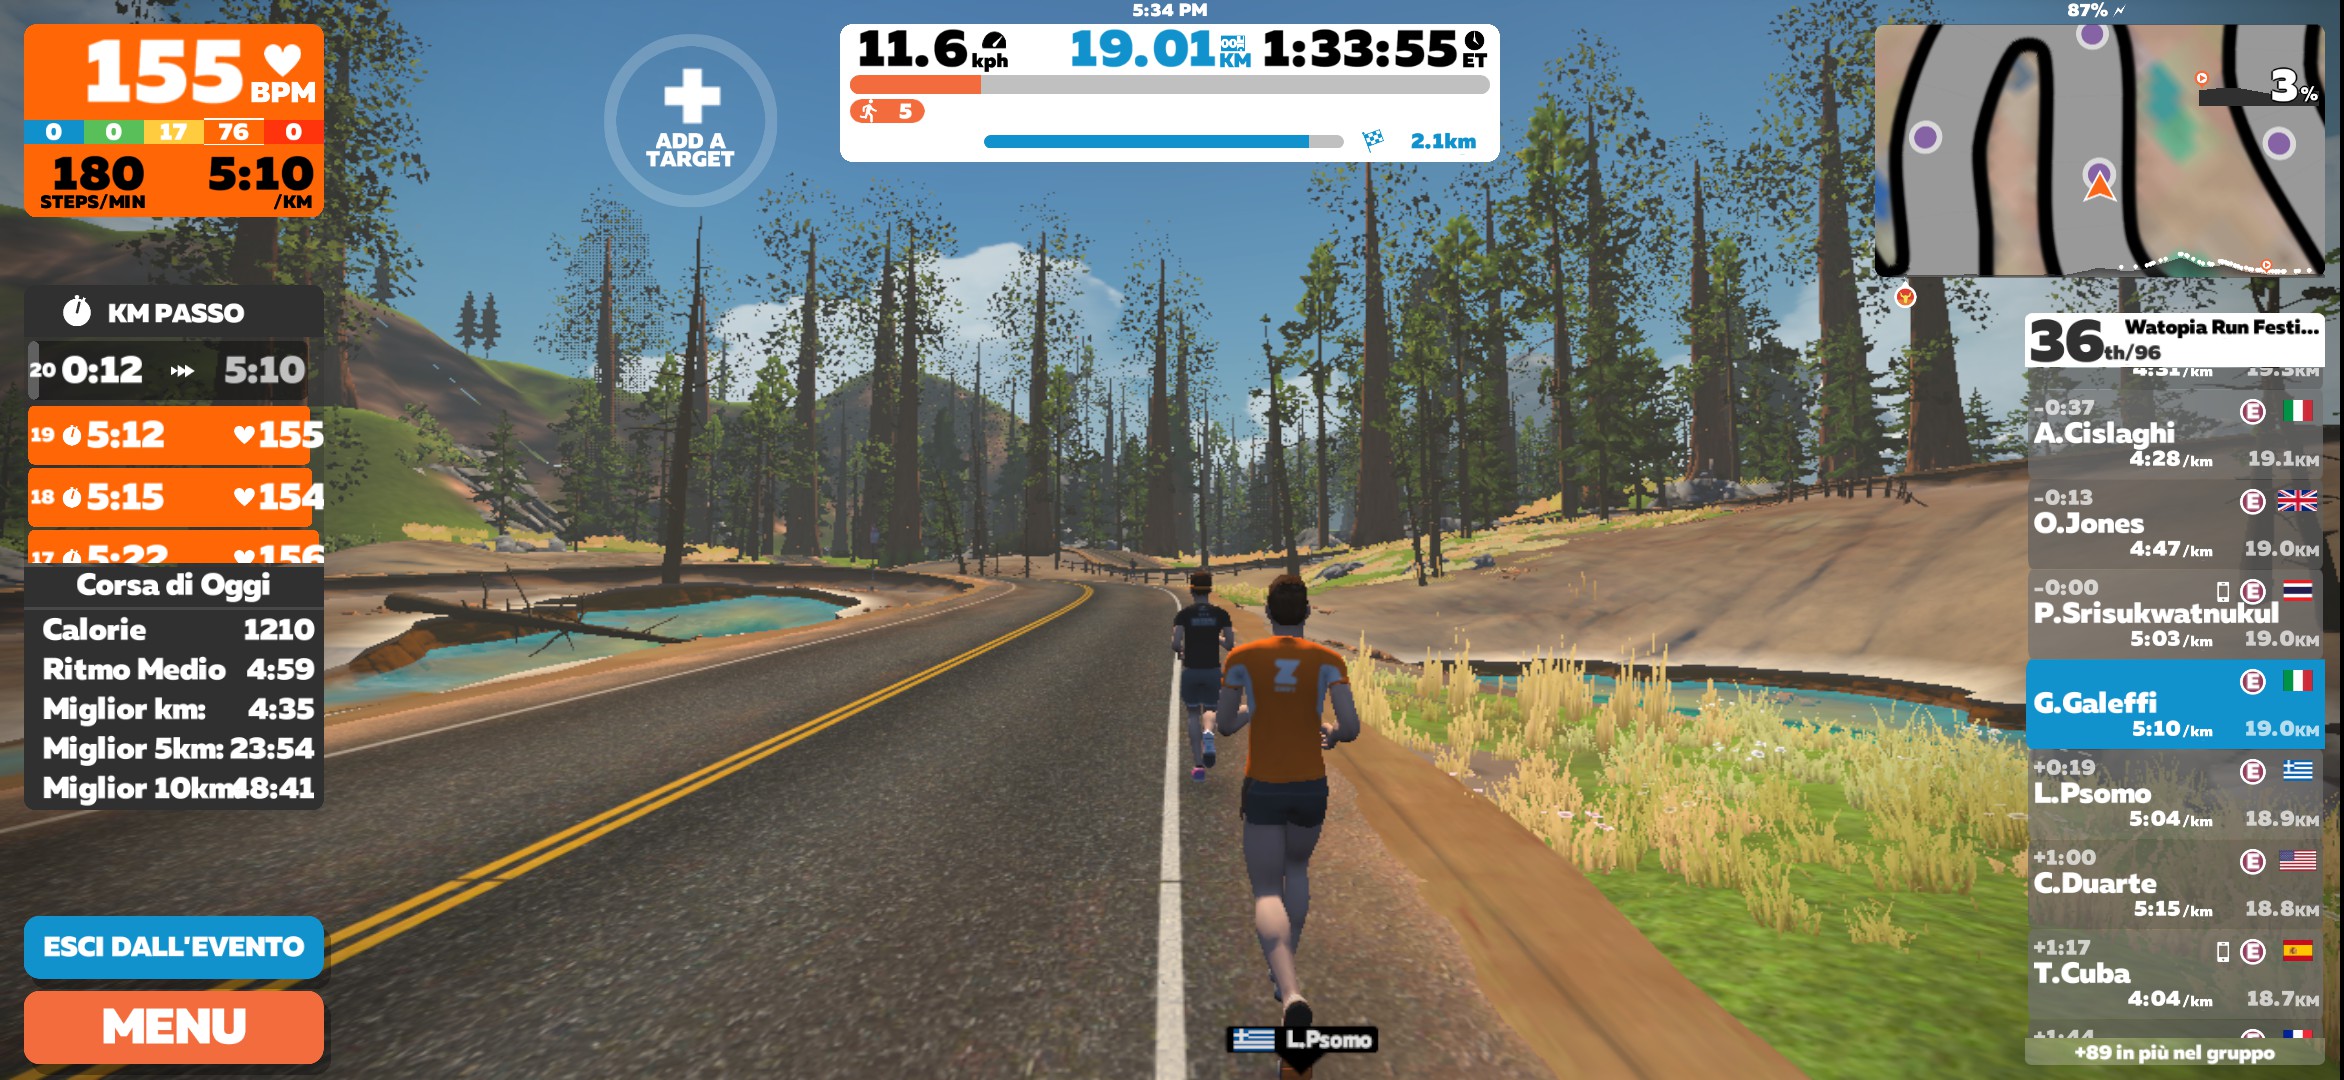
Phase 4 – Connect Zwift
The fourth stage depends on where zwift is run.
I run Zwfit on my Xiaomi Mi 9T which natively supports Ant+, so simply download plugins and make Ant+ work.
Start sensor with node strideSpeedDistance/start.js on the console, start Zwift app on the phone and start the wizard
to connect to the sensor and calibrate.
I also have a Heart Rate monitor band that support ant+ and Zwift.
If you want to run Zwift on PC you need to have a second Ant+ stick to receive data from your sensor.
Phase 5 – Run!!!